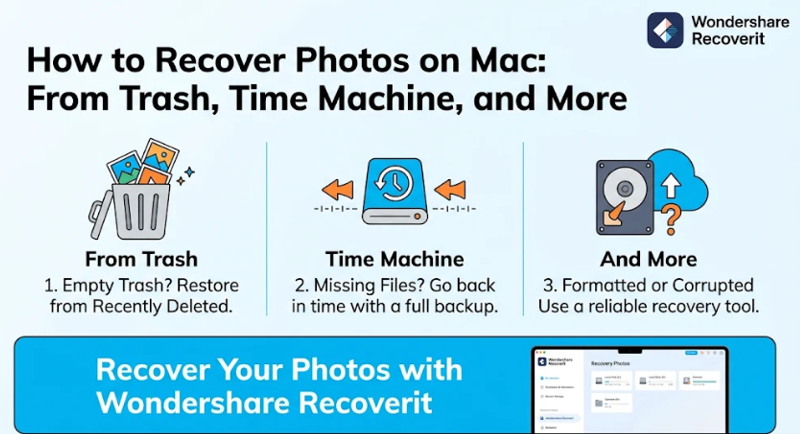
Losing photos on a Mac is one of the most personal data losses there is – family moments, trips, and years of memories can disappear in a moment. The good news: macOS and recovery tools give you several ways to get them back. This guide covers the complete photo recovery path on Mac, from the built-in options to professional scanning.
Method 1 – Restore from the Trash
If you deleted photos with Command+Delete, they are in the Trash.
1. Open the Trash from the Dock.
2. Find your photos – they may appear as image files or inside deleted folders.
3. Right-click and choose Put Back to restore them to their original location.
This is instant and free, and it works for any photo deleted recently enough to still be in the Trash.
Method 2 – Restore from Time Machine
If you use Time Machine, your photos have a backup.
1. Connect your Time Machine drive.
2. Open the folder (or Photos library) where the photos used to live.
3. Enter Time Machine and scroll back to a date before the photos were lost.
4. Select the photos and click Restore.
Time Machine is especially valuable for Photos library damage – it restores the whole library state from before the problem.
Method 3 – Check iCloud Photos
If you use iCloud Photos, deleted photos may be recoverable online:
- Go to iCloud.com and open Photos.
- Click Recently Deleted – Apple keeps photos there for 30 days.
- Select the photos and click Recover.
iCloud also restores photos deleted from any synced Apple device, which makes it a genuine recovery path.
Method 4 – Scan with Recovery Software
When the Trash is empty, Time Machine has no backup, and iCloud is exhausted, the photos may still be on your Mac’s drive – deleted files are not erased until overwritten. Finding them needs a raw scan.
Wondershare Recoverit recovers photos on Mac with photo preview and auto-repair of damaged images during the scan.
Step 1 – Select the Location
Launch Recoverit and choose where the photos were – your Mac’s drive, the Photos library location, or an external drive.
Step 2 – Run the Scan
Click Scan. The all-around scan finds recently deleted photos; the deep scan finds older or fragmented ones. Results appear in real time.
Step 3 – Preview and Recover
Filter by photo type, preview the images, and click Recover. Recoverit shows thumbnails accurately and auto-repairs damaged photos during preview, so you know what you are saving.
The Mac data recovery tool and the photo recovery module both apply to Mac photo recovery.
What If Photos Come Back Damaged?
A recovered photo that will not open is usually damaged, not lost. Two options:
- Let the auto-repair work. Recoverit repairs many damaged photos during preview.
- Keep the file. Even a damaged photo may be repairable or partially usable – never delete a recovered file before trying repair.
Preventing Photo Loss on Mac
- Enable iCloud Photos. Offsite copies protect against drive failure.
- Use Time Machine. Backups make photo loss a non-event.
- Don’t empty the Trash reflexively. Photos deleted by mistake are instantly recoverable from the Trash.
- Back up before large changes. Library migrations and OS updates deserve a backup first.
Conclusion
Recovering photos on Mac is a layered process: check the Trash, restore from Time Machine, check iCloud, and scan with recovery software when the free options run out. Wondershare Recoverit covers the last layer – recovering photos from the drive itself with preview and auto-repair. Whether you need to recover photos on Mac from the Trash, Time Machine, or raw scanning, the path is clear – and your photos are worth every step.